


Integration with Kommo (amoCRM) - Dev
Developer Guide / Integrations / Integration with Kommo (amoCRM) - DevIntergaration with Kommo (amoCRM) - General information
Preparatory actions
To connect your amoCRM account to the e-Cont.md system, you need to perform a number of actions:
1) Register in amoCRM and make the initial settings of your profile
2) in your amoCRM account, go to the Integrations section and follow the instructions.

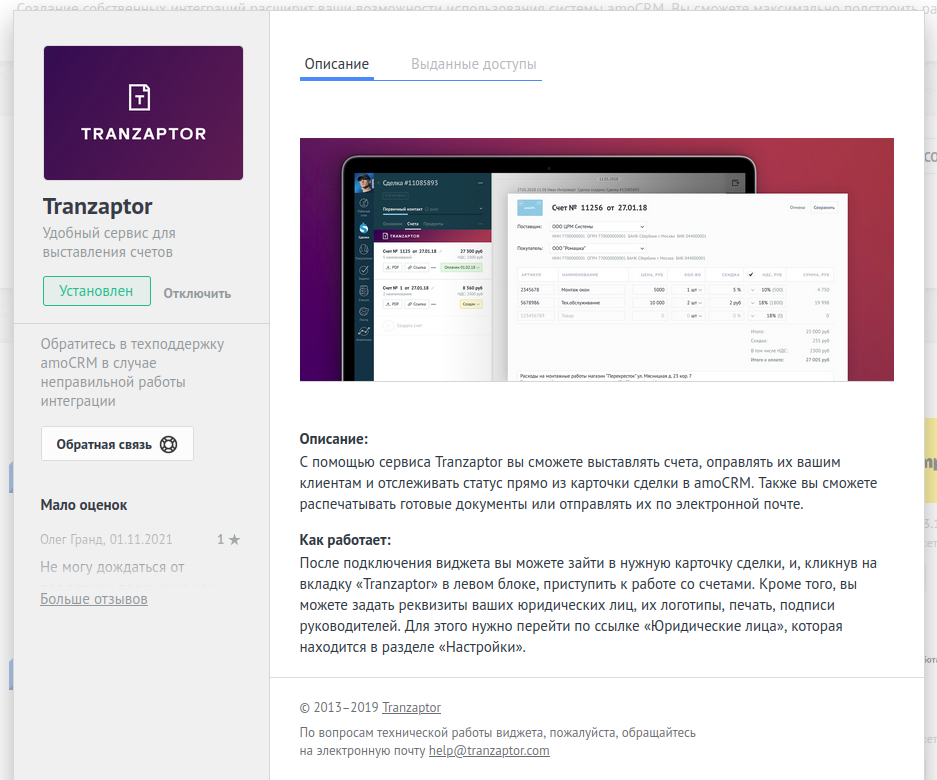
3) Install the free application Tranzaptor
Register with this provider and follow the instructions to install the application. After that, this application will appear in your application list.
This application is necessary for the functioning of the application e-Cont.md : Electronic Invoice..
With its help, all the necessary objects for working with invoices for payment will appear in your amoCRM account. So install Tranzaptor first.
4) Next, find the application e-Cont.md : Electronic invoice in the list and start its installation.
5) During the installation process, enter the following data in the appropriate fields:
- Link to redirect
- Link for disconnect hook
These values must be taken from the settings at the top of the page.
Check the checkbox: "Give access to: Everyone".

Save the current settings data
6) Open again the integration e-Cont.md : Electronic Invoice.
Attention!
You will have no more than 20 minutes to complete the following points - 7), 8) and 9).
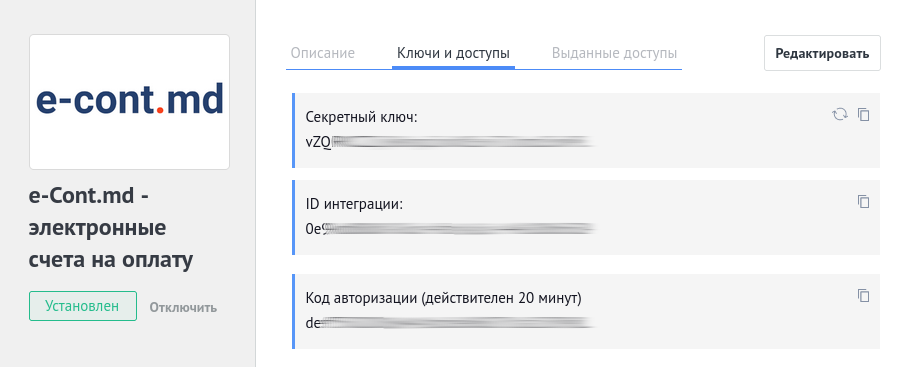
7) In the "Keys and Permissions" section, copy and paste into the appropriate settings fields at the top of the page:
- The secret key
- Integration ID
- Authorization code
8) After entering the values, click the green "Save" button
Then click the "Connect to amoCRM" button.

9) You will be redirected to the AMOCRM login page. Select your account from the list and click the "ALLOW" button
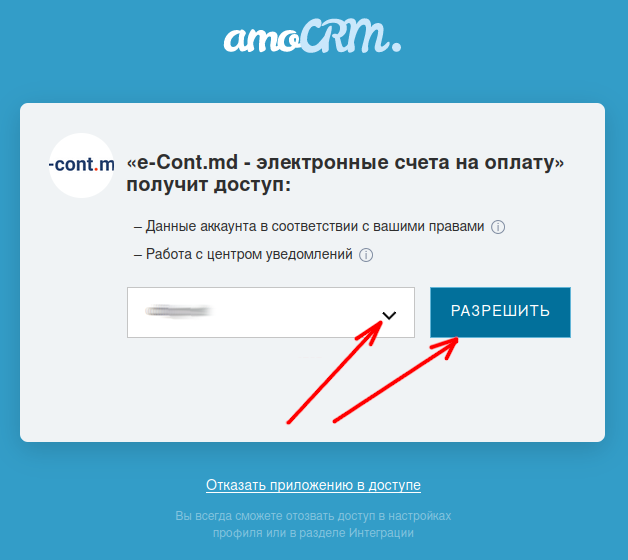
10) You will then be returned to the amoCRM page in your personal account.
In this case, the mutual connection of the e-Cont.md and amoCRM systems will take place. Upon successful connection, you will see a message: "Success! Connection established!"
After completing all these instructions, your integration with amoCRM will work automatically.